Book corner bookmark
Sorry for the long absence of tutorials! Life just took over and I had a million things to do/read/write.
On top of that, my third-party blogging program just decided to go on strike today – after I finished writing the post. I had to upload everything individually. Yes, I am just doing this mock complaining thing for faux sympathy!
Today’s tutorial is quick and easy: an origami bookmark. But not just any bookmark – you can use your till slip or bus ticket for that – a bookmark that slips around the corner of your book’s pages.
You won’t need much to fold this bookmark: only a single square of paper. I believe mine was 5x5cm (2x2inches). Let’s get started, shall we?
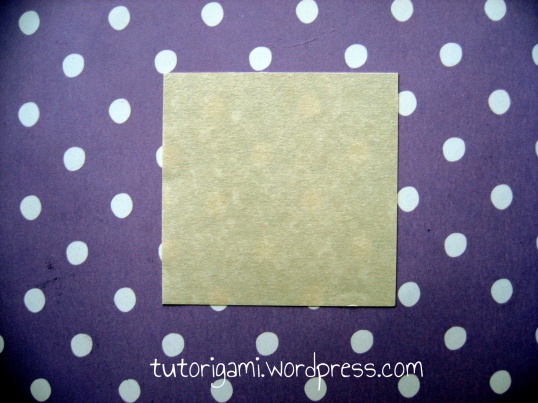
Take your square of paper.
Fold it in half diagonally.
Unfold.
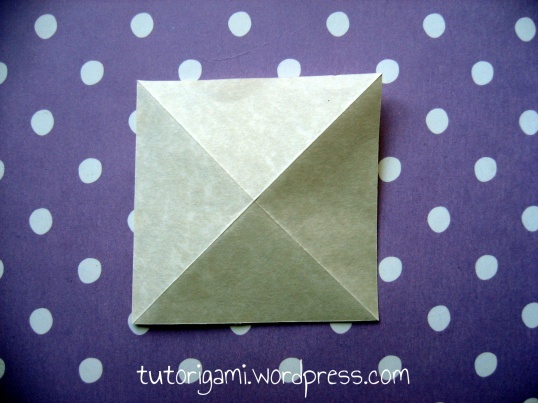
Fold it in half diagonally the other way, and unfold.
Turn your square over.
Fold it in half horizontally and unfold.
Fold it in half vertically and unfold.
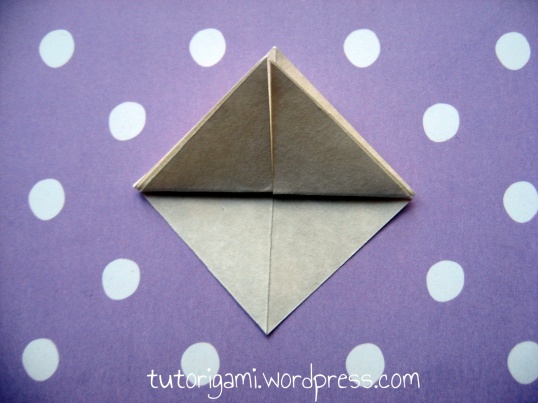
Rotate the paper so that it is diamond-shaped, as shown.
Start collapsing it into a bird base, as we learned in the Origami crane tutorial.
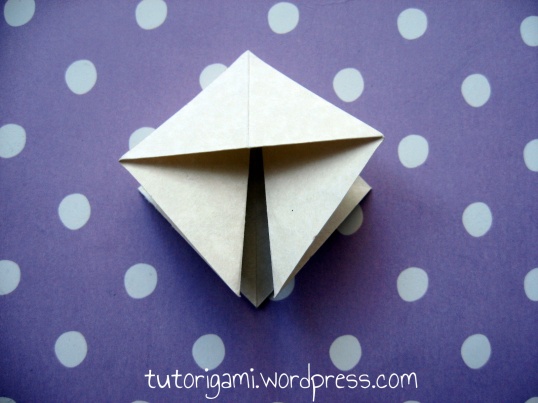
Continue collapsing it.
Collapse complete.
Fold the top layer of paper up to the tip. You’ll see two smaller triangles now sticking out below it.
Fold one of these triangles up as well.
Let its fellow follow it. There will be only one layer of paper left at the bottom now.
Fold the two smaller triangles down again.
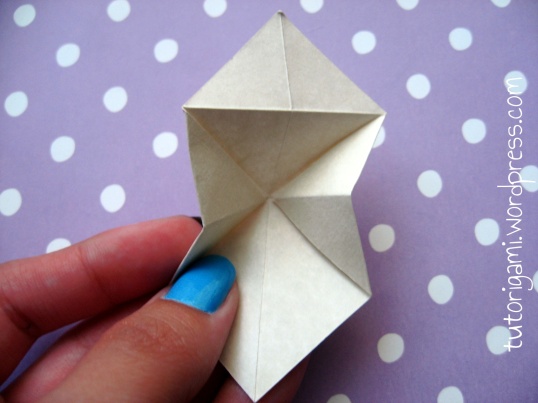
Open up the paper slightly, so that you are looking into the inside of the model.
Reverse the fold lines you made when you folded those two triangles up and fold them to the inside of the model.
Let the top triangle that you folded upwards six steps ago come down as well, as shown.
Flatten the model again, with the two side flaps of paper now on the inside.
Pick up the model. Take the top layer and bend it over and inside so that it goes around those two side flaps and against the bottom layer of paper.
Finish tucking it in and smooth the model with your fingers.
You’re done! Now find a book to use it with!
UPDATE: I now have a video version of this tutorial right here! It’s not exactly the same method (the video shows a simpler version), but it leads to the same result.
Any questions? Leave them below!
Happy folding!
~ Elana.










I’ve got a lot of origami paper that I haven’t touched in ages—thanks for the inspiration!
That’s great to hear! Thanks for letting me know! 🙂
Pure genius…thank you for saving me from thousands of slips of paper that will eventually be lost in an unexplainable black hole!
I’m so glad it helped you! 🙂
Could you please make a video? That would help me a lot. Great idea though! These bookmarks will not fall out, like the strips of paper I use!
I’ll see what I can do! 🙂 You might have to wait a couple of weeks, though.
Pingback: How To Make an Origami Bookmark | SMP Craft
Pingback: Book corner bookmark video | Origami Tutorials
Pingback: Stony Point High School | Makerspaces at your library
Hi, Im just about to do some training for my job and I have to teach the class.(adults) Just for fun as we are in the books a lot I thought teaching them the book mark would be fun. So I’m wondering if I have yuour permission to use your pictures for instructing the class?
regards
Jennifer
Please feel free to use my post for teaching. 🙂
Thanks
Thanks for this ! 🙂 Steps are very easy to follow 🙂
I’m glad you liked it! 🙂
Really nice!! 😀
hi thanks I have been wanting to do this forever but I never knew how to make these bookmarks
It is so hard to do it but I have confidence In myself that I can do it
Give it a try!
Thanks for this tutorial!
I’m studying to become an arts teacher and one of my tasks at my work experiences is to teach the students (about 8-9 years old) some origami. I wanted to teach them something that is pretty easy to make, that they can use and that they can decorate in different ways. As their interest at the moment are Pokémon we’ll make some of these bookmarks together and make them into Pokémon bookmarks.
Once again thank you.
That’s great to hear! Thanks for letting me know about your Pokemon bookmarks! 🙂